Showing posts with label Copic. Show all posts

Saturday, June 16, 2012

June Copic Club

I LOVE my Copic markers! They make me feel like a real artist and I just love the effects you can achieve that make your cards look so professional. I have a group of other Copic lovers that meets once a month. Yes, we get together to color. Grow-up, professional women, sitting around coloring. It's heaven! Here is our card for this month's get together:

All a•muse|studio products:
Stamps: Under the Big Top
Paper: Sugar, Cobalt, Cherry
Twine: Cherry
Pearls: Black and Cherry
Ink: Memento Tuxedo Black
Pens: Copic Markers Y13, Y15, Y17, B24, B26, B29,
R24, R27, R29, W1, W3, W5, BG10, E00, E31, 0, and 
Signo Uniball White

All of the supplies to make this card, as so much more, can be found HERE at my online a•muse|studio store.

Have a great Saturday and happy stamping!

Devon


Thursday, May 31, 2012

FLT192 ~ With Sympathy

Clean & Simple Stamping sketch 192 looked like a perfect sketch to do with a sympathy card. I think sympathy cards should be very simple. I had one last pre-stamped Marvelous Marigolds sitting on my desk from our last Copic club meeting and I knew it would be perfect for this sketch.

Stamps: a•muse Marvelous Marigolds and Essential Sentiments
Paper: a•muse Sugar and Onyx
Ink: Memento Tuxedo Black
Other: Copic markers Y13, Y15, Y17 and 
Ranger's Liquid Pearls in Lemon Yellow

Clean, simple, and elegant... everything a sympathy card should be. I think it's good to keep a few of these in your stash for when you need them. It's hard to actually make the card at the time, so having one on hand is good.

Off to hike in the sunshine! Happy Stamping!

Devon

Tuesday, May 29, 2012

Another Masculine Card with Designer Paper ~ CFC54

Two cards on my blog in ONE DAY!!! I was cleaning up after the last card and noticed the set Swingin' Day, which I haven't played with in a a long time. I have always used this set with solid papers only, but I thought our Grass Gingham might be cute. I usually reserve gingham for baby cards, so I had to move outside of the box for this one. But I LOVE the way it turned out! So much better than my last card!

All a•muse products used except embossing folder.
Stamp Set: Swingin' Day
Paper: Sugar, Grass, Grass Gingham
Ink: Memento Tuxedo Black
Other: Cuttlebug embossing folder - Swiss Dots, 
Copic markers C3 and Y17, Pebbles Pearlescent Chalks

I pulled out my Copic Air Can to do a little airbrushing on the white cardstock so the golf ball would pop a little, but I couldn't find my sprayer. (Gonna have to grill the boys and see if they've been playing with mommy's toys!) Instead, I got out my chalks to blue up the sky a bit. It's got a slight shimmer to it, which isn't exactly masculine, but I know my man can handle it! ;o) I very lightly filled in the dots on the golf ball with C3 copic marker and popped it up on a dimensional. My 10 year old said, "Oooh! It looks like it's flying off the card!" You've got to love it when kids get your cards!

Sunday, May 27, 2012

June Stamp Camp Cards

School's OUT! I spent a few days catching up on stuff around the house and now I'm back working at my table once again. It feels so good to have some free time to create cards again. I'm hosting a stamp camp next Saturday and thought I'd share the cards we'll be doing.


A card for your BFF, sister, or mother...
on the inside is says "...and deal with it!"
Stamp set: Days Like This
Paper: Grapefruit, Shell, Sugar
Embellishments: Onyx twine, onyx pearls, diamond glitter
Ink: Memento Tuxedo Black
Copic: RV14

 A little something for Father's Day - 
totally CASE'd from another consultant in the gallery - Kay Petersen! Go check out her blog!
I loved the paper piecing and all things polka dots always catch my eye!

Stamp Set: Brief Notes and Essential Sentiments
Paper: Sugar, Kraft, Grass Petite Polka Dots
Ink: Memento Tuxedo Black

I just had to bust out Tini Time finally! I could have used just about any of the sentiments that come with this set. This is the only card where I used a non-a•muse element. I pulled out the Tiny Bubbles Cuttlebug embossing folder for this one, because I don't have any of ours yet.

Stamp Set: Tini Time, Mod Backgrounds 1
Ink: A•Muse Pigment inks in Bermuda, Cherry, Grass, and Memento Tuxedo Black
Ribbon: Grosgrain Stitched Ribbon in Lime
Embellishments: Crystal Clear Glaze to make that shiny cherry
Tools: Cuttlebug Embossing Folder - Tiny Bubbles


A more masculine card - Could be used for Father's Day or a masculine birthday. I think the next time I do this, I'll stamp the sentiment in French Roast. The recliner is paper pieced using Grass Gingham. 

Stamp Set: Hey Man!
Ink: A•Muse Pigment ink in Buttercup, French Roast, and Memento Tuxedo Black
Paper: French Roast, Buttercup, Sugar, Grass Gingham


And welcome baby cards are always good to have on hand! Greens and yellows help to have some gender neutral cards around for when you need one. I love this Little Peanuts set and want to make a lot more cards in gender neutral AND pink and blue themes. 
Stamps: Little Peanuts
Paper: Lichen, Sugar, Buttercup Gingham
Ink: Memento Tuxedo Black
Embellishments: Vanilla polka dot organdy ribbon, Vanilla pearls
Tools: Copic marker, Spellbinders Nestabilities Labels 1


The wonderful thing about being an A•Muse Studio consultant is getting so much inspiration from all the other creative consultants. Our online gallery provides me with so many ideas that I use as inspiration for the cards I make. Sometimes it just takes a little spark to get your mojo rolling! 

If you see anything you just can't live without, all of the items used to make these cards can be found at my A•Muse webstore: Devon DeGarmo's Webstore

Happy Stamping and Happy Summer blog friends!

Devon

Friday, November 4, 2011

Snow Friends

Oooohhh!!! I've been playing and prepping for my very first workshop! I have a thing for snowmen. Love 'em! Every year I beg the boys to come out and make a snowman with me from the first snow we get. Soon it will be so cold that the snow won't actually stick together. If you make a snowman early in the winter, they can be out in your yard for most of the winter.

So I'm just loving playing with a few different a•muse studio snowmen. Here's a card I made using the Chill of Winter set and some Copic markers...


I like the combination of the Sky paper and the little pops of Cherry. Of course, I had to add some glittery snow in the background. Diamond glitter makes me happy! And the fun technique that I've been using quite a bit? Masking - so I can layer stamped images on top of each other. And I've finally gotten smart and I'm storing my masking images in the DVD case where the stamp set is. Then I can make the card several times if need be and I don't have to cut out the mask again. I just love a good, time saving idea. How do you save time in stamping?

Recipe: All a•muse | studio products
Paper: Sugar, Sky, Sky gingham
Stamps: Chill of Winter
Ink: Sky, Tuxedo Black
Ribbon: Cherry stitched grograin
Misc: Diamond glitter and Copic Markers
All of the supplies for this card can be found here.

Well... off to clean up the house and finish prepping for tomorrow! I'm excited!

Happy weekend all!
Devon

Saturday, October 29, 2011

Gift Card Holder - Photo Tutorial

Oh boy! I have never even considered doing a photo tutorial, but I discovered that I get a ton of hits on my blog about the Christmas gift card holders that I've made in the past. I had found a link on how to make one and they're super easy. I thought I'd give this tutorial thing a go...

Step 1: Cut a piece of cardstock at 4 1/4" x ll. I used 'twas the night before christmas from a•muse studio (of course). Optional step: If you use a plain piece of cardstock instead of patterned paper, you could choose to stamp a background on both sides of the paper at this point.


Step Two: Turn the paper landscape and score at 3", 5 1/2", & 8".


Step Three: When you score the paper you want to fold it slightly so it resembles an "M".


Step Four: On the second panel from the left, put adhesive in a C shape from the top, down the left side, and across the bottom. It's hard to see in the phone. I used 1/4" adhesive from my ATG gun. It's good strong adhesive that will hold well.


Step Five: Fold the paper over so that you get an inside pocket. If you've used patterned paper, the patter will be on the outside, and your pocket for the gift card will be on the inside.


Step Six: Trim off 1/2" from the section that becomes the pocket. This is where you will be sliding the gift card inside.


I slide one of my business cards inside to demonstrate and make a contact at the same time! 


Step Seven: Get ready to decorate the outside of your gift card holder. I used a piece of cranberry and sugar cardstock from a•muse studio cut at 3 1/4" x 2 1/4" for the cranberry and 3" x 2" for the sugar.


Step Eight: Assemble your outside image. I used Holiday Tags, some Christmas washi tape, and white flocking to dress up Santa's suit.


Step Nine: Stamp a quick To: and From: inside. Leave space for a message!


Step Ten: Cut a length of ribbon and adhere it to the card around the middle. Then adhere your focal image over the ribbon.


Ta-da!!! An adorable gift card holder that the recipient will appreciate almost as much as the gift card it holds! You can do these either in landscape or portrait, depending on the stamps you want to use. I chose landscape for this one because I wanted the image to be in line with the text.


Here is an example of another one I did in the portrait orientation. 


I hope I did a good job with the tutorial and that it makes sense! Let me know what you think? Would you be interested in making these yourself? I'd be happy to help get you going at a workshop. Get in touch: paperismypassion@gmail.com All of the supplies for the gift card holders can be found here.


Have a wonderful weekend!
Devon


Tuesday, October 18, 2011

Coloring With Copics!!!

I am a super dork and I totally own it! Yes! I love to color! There... it's out. Maybe that's why I'm a 2nd grade teacher. As an adult, you feel kind of silly coloring... unless you have the world's greatest markers to color with. I found Copic markers (that's a long o, not a short o) a few years ago and have been busily collecting them and using them in my card making. When I am playing with them, I feel like a total artist. I'm not, but that's neither here, nor there...

Here is a card I made using the cute hedge hog that came in my starter kit:


Because Copics are an alcohol based ink, you can blend them, and shade with them, and make your stamping really pop! The really fun thing about Copics are that you can also use them to alter the colors of other embellishments. The next cards I post will show how I used Copics to alter a paper flower and some pretty pearls. Don't have the color you need? Doesn't matter! Pull out your Copics and make it exactly the way you want it.

One of the things I'm working on doing is setting up a monthly Copic Coloring Club. The way a monthly Copic club works is that we have 8-10 members of the club who commit to ordering 3-4 Copic markers each month. This will help you build your stash and begin using these awesome markers. 

We will do some sort of card or project that will help you learn how to use your markers. We will decide how many markers we need to buy based on how many members we have. We will want our monthly meeting total to reach $150 so that month's hostess can earn $25 in free product from A Muse Studio.

If you are local and interested, let me know and I'll make sure you get on the schedule and come to the meetings at my house. If you are interested, but not local, you can still be part of the club. You will let me know which Copics you want and will be signed up to be one of the hostesses via email. 

Recipe: All a•muse | studio supplies
Paper: Sugar
Stamps: Woodland Friends, Friends Fur-Ever, and Ovalicious
Ribbon: Sky organdy polka dots
Ink: Grass and Tuxedo Black
You can find all of the supplies for this card here.

Have a wonderful day!
Devon

Monday, October 17, 2011

Gift Card Holder

I give a lot of gift cards! Teachers love to get them. My friends who are readers usually get Barnes and Noble cards, or Amazon cards for their Kindles. My kids always think they've been given a "credit card" and can't wait to go shopping and pick out exactly what they want.  I just think gift cards are great!

But what can make a gift card more personal? How about making the gift card holder? I LOVE this quick and easy gift card holder that I made with a few stamps, a little bit of paper, and some cute ribbon! Copic markers make the coffee cup pop with a little dimension too!


What I really love about this gift card holder is that after you untie the ribbon, you use the ribbon to pull out the gift card that is inside. It just helps it slide right out! Wouldn't this one be just perfect with a Starbucks card inside?

As soon as I receive my next A Muse order, I will be making a bunch of these with a Christmas theme! They would make a fun workshop, so let me know if you want to get some of your friends together to make a few!

Recipe: All supplies from A Muse Studio
Cardstock: French Roast, Sugar, Sky
Ink: French Roast
Stamps: The Perfect Blend set
Ribbon: Sky organdy polka dots

Have a wonderful day!
Devon

Sunday, April 18, 2010

Playing with my Copic markers!

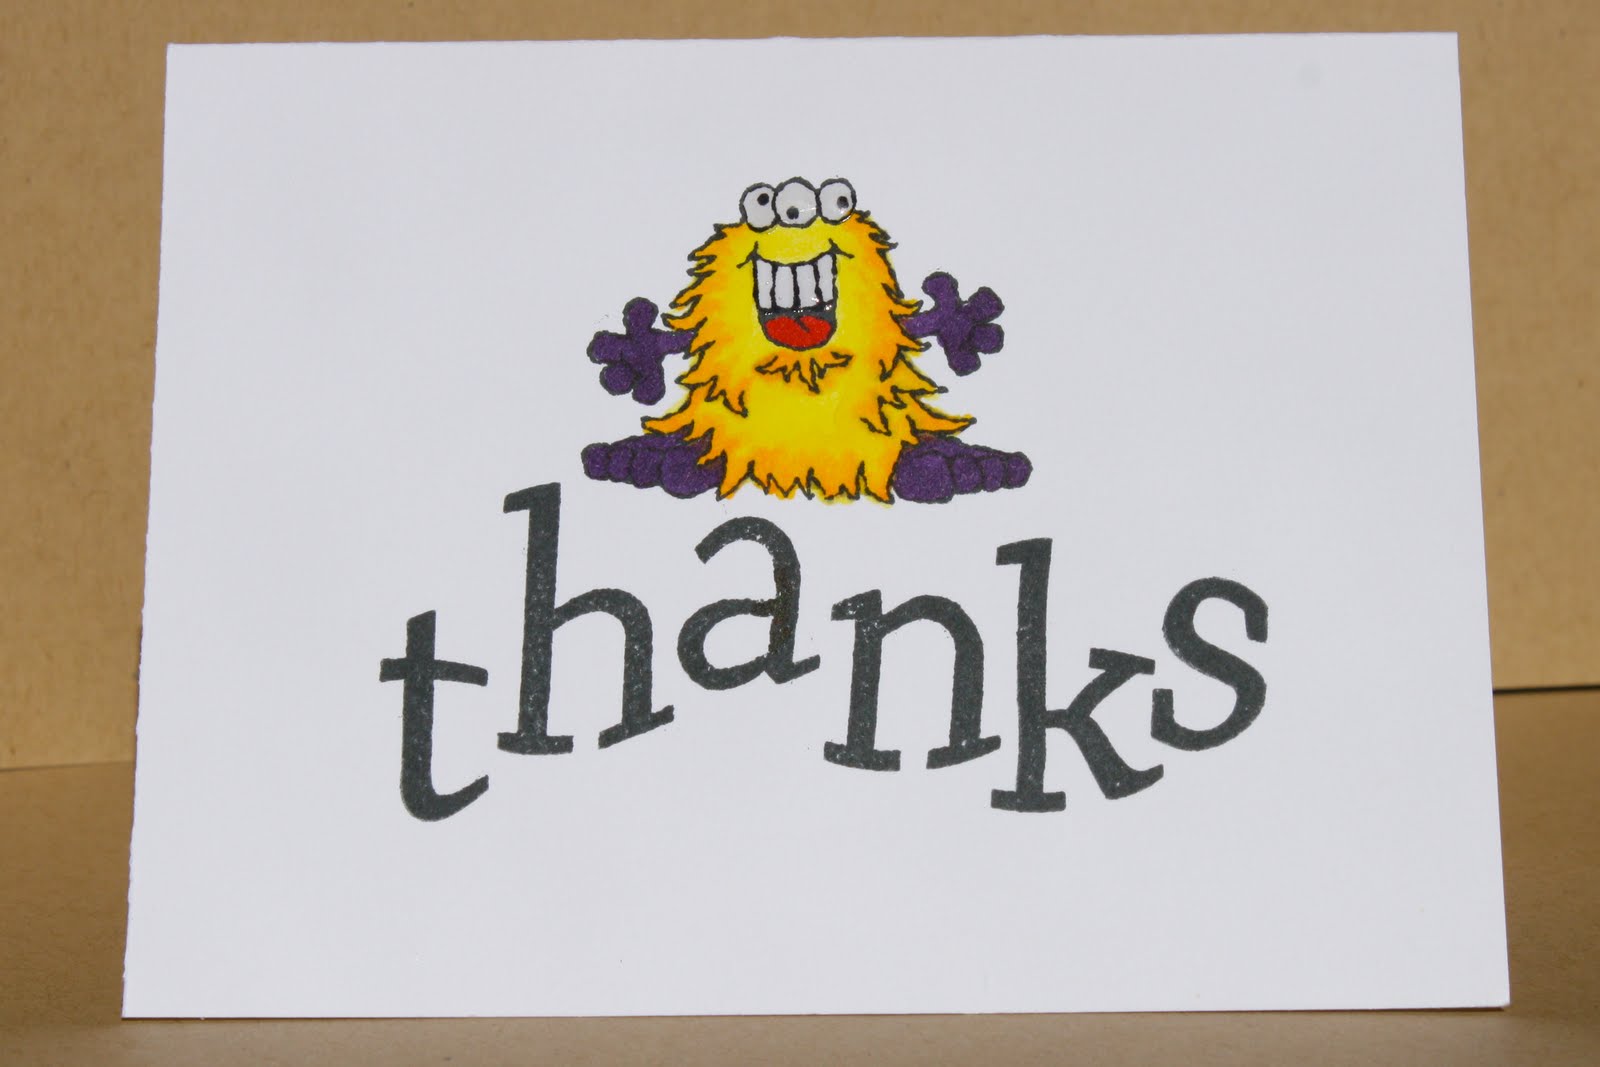
So, my youngest son turned 6 recently and we had a great birthday party. Now... I'm trying to "raise these young men up right" and in my world that includes teaching them to write thank you notes. I took out some of my unused CTMH stamps and mass produced a simple one layer card, and then had a BLAST spending the evening coloring! Each card had it's own color scheme and did I have fun! Don't look too closely at the stamping job, but let me know what you think of my coloring!


All Stamps: Close to My Heart
Cardstock: White Daisy CTMH
Medium: Copic Markers - lots of colors that I didn't make note of! Liquid Glass from CTMH

The best thing was that my little guy loved the cards so much that he didn't fight me to write the thank you notes and he was so proud to pass them out to his friends! Thanks for looking and leave a comment so I know you stopped by!

Saturday, April 17, 2010

Hommage to Julie HRR!

I loves me some Amuse rubbah and the designs of Her Royal Rubberness Julie Ebersole! The ladies in the Amuse Lounge posted a challenge in March to let Julie be your inspiration. Well, with Teacher Appreciation Day coming up, I decided to go with a thank you card I could give to the boys' teachers. Hope you enjoy!


Paper and Cardstock: Amuse
Stamps: Amuse
Ribbon: Amuse
Punch: EK Success
Markers: Copic
Clip: CTMH

Love ya' Julie! You're such an awesome inspiration! (and yes... I know it's April and I'm a bit late for the challenge... but that's just me! ;o) )

Sunday, August 9, 2009

Just Because ~ AMC07

I saved my absolute favorite for last! I picked up the Kokeshi doll stamp at Stamp Attic in Anchorage a few weeks ago. I'm actually taking a class on campus this summer, as opposed to online. (My very last class in my master's program happens to be my very first class on campus!) I just love her! I also picked up the Sakura flower to go with her. She's so dainty and girly (hard to come by in my house) and I had to have her!


Wow! 5 posts in one day! That's certainly a record for this blogger! Hope you'll leave a comment and let me know what you think!

Goodies I used:
A Muse stamps: Kokeshi doll and Sakura flower and just because sentiment
CTMH ink: Bubblegum
Papertrey Ink: Kraft cardstock
Random cardstock from my stash
Offray ribbon
Silver Stickles from Ranger
Copic markers

Welcome Little One ~ AMC07

Well, this sweet little card I pretty much CASEd right out of the A Muse gallery. I think it's one of Julie's designs. I adore her work and am on her blog all the time! I love the red and blue and the stitching on the paper. Who knew I would be using a sewing machine while making cards.


Goodies I used:
Random paper from my stash
A Muse stamps: Baby line and Welcome, little one sentiment
A Muse Ribbon
PTI Kraft cardstock
Copic markers

Tuesday, July 7, 2009

I'm Seeing Spots! A-Muse-A-Palooza #4

I think I'm totally A Muse obsessed lately. I just love their cute little stamps! And their sentiments are so adorable. So, the challenge for A-Muse-A-Palooza #4 this week to use the word SPOT as your inspiration. And you have to use at least one A Muse stamp of course.

Well, I have had this margarita stamp for a long time and it was way past time to ink it up! I searched the internet for phrases with the word "spot" and I knew "hit the spot" was where I'd be going with this card. I have a friend who makes wicked, drop you on your butt, margaritas, so this card will be for her at some point during the school year. I hope you like it and leave a little love in the form of a comment. And come on back, because I've already to another idea for another "spot" inspired card!


Goodies used for this card...
Stamp: A Muse margarita, computer generated sentiment
Paper: random cardstock from my stash
Ink: Memento Tuxedo Black, VersaMark
Accessories: Nestabilities Labels One die, Ranger Glossy Accents, Ranger Stickles in Lime Green, Copic Markers

Friday, June 26, 2009

Mojo Monday Week 92

Yeah, yeah... it's Friday! Oh well... here's my submission for this weeks Mojo Monday sketch. I've spent most of the week cleaning up my crafting area, and now that I can find things, I can create again.

I got this stamp at Stampin' Moose here in Wasilla and it's my first of the Hanna Stamps! He's quite cute and it's so appropriate for me to be making cards with a moose, dontcha' think?


I had a lot of fun creating this card. I got to play with my Copics and do paper piecing with super fun Basic Grey paper. BG is so yummy!


Here are the Copics I used to color Riley up!

Recipe:
Stamps: Hanna Stamps and A Muse sentiment
Paper: Basic Grey Urban Prairie
Ribbon: American Crafts
Cardstock: random from my stash
Accessories: sewing machine, Cuttlebug, Nestabilities


Related Posts Plugin for WordPress, Blogger...