Saturday, October 29, 2011

Not a Card!

Cards are great, and I do still scrapbook, but when I find something I can do with paper that is not a card or a layout, it's such fun! This cute little bag would be the perfect way to give someone a pair of earrings, or any little treat. And, you can make it with just 1/2 a sheet of paper! I love it when I can make 2 of something and have an extra on hand for those last minute gifts.


Recipe: All a•muse | studio products
Paper: Bermuda for bag, Sugar for sentiment
Stamps: Lots of Dots, Brief Notes sentiment
Ink: Ocean
Ribbon: Ocean stitched grograin
All supplies for this project can be found here.

Have a wonderful day!
Devon

I just got the Fresh Foliage set and the Autumn Harvest paper pack in the mail. Such yummy paper! I think I'm going to have to go all fancy this Thanksgiving and make the place cards. And even though the snow is going to fly any second, I'm going to make some cute cards for my friends who are still experiencing fall. Those Autumn Leaves are calling me too.... Good thing these sets are 10% off right now. 

If you are interested in ordering any of the specials in the October Spotlight, just click this Spotlight link to visit my a•muse | studio web store.

I'm having my first Workshop at my house on November 5th and 6th from 2 - 4! I'm so excited to share all these fun stamps that I'm just loving. If you'd like to attend, just drop me an email at paperismypassion@gmail.com

And now I'm off to the table to have some inky fun!

Happy Saturday!
Devon

Friday, October 21, 2011

With Sympathy

It's never easy to lose someone. We lost my dad almost 13 years ago this coming Christmas. One of the things that got me and my mom through the whole thing was hearing stories people told about Dad and what an amazing man he was. Making a sympathy card can be a daunting task. I think sympathy cards should be understated and simple. Remember, it's the message that you send inside that comforts the receiver.

This card, made with supplies from my consultant kit, was originally designed as a birthday card. It didn't seem bright and cheery enough for that, so I thought it would make a lovely sympathy card.


I made a few changes, including doing a little heat embossing with clear embossing power. I love heat embossing! It gives such texture to your work and looks so professional. Plus... it's just fun to watch that stuff melt!

Recipe: All A•Muse Studio Products
Paper: French Roast, Fern, Bermuda, Sugar
Ribbon: French Roast stitched grograin
Ink: Versamark and French Roast
Other: Clear embossing powder

Can it really be Friday already? My weeks seem to be flying by... Christmas will be here before I know it. I'm going to start getting prepared now. I'm going to hit the Book Fair at school to send gifts to the kiddos in our lives. I've already got some cute ones picked out for a couple of sweet little girls in Seattle! 

Have a great day!
Devon


Thursday, October 20, 2011

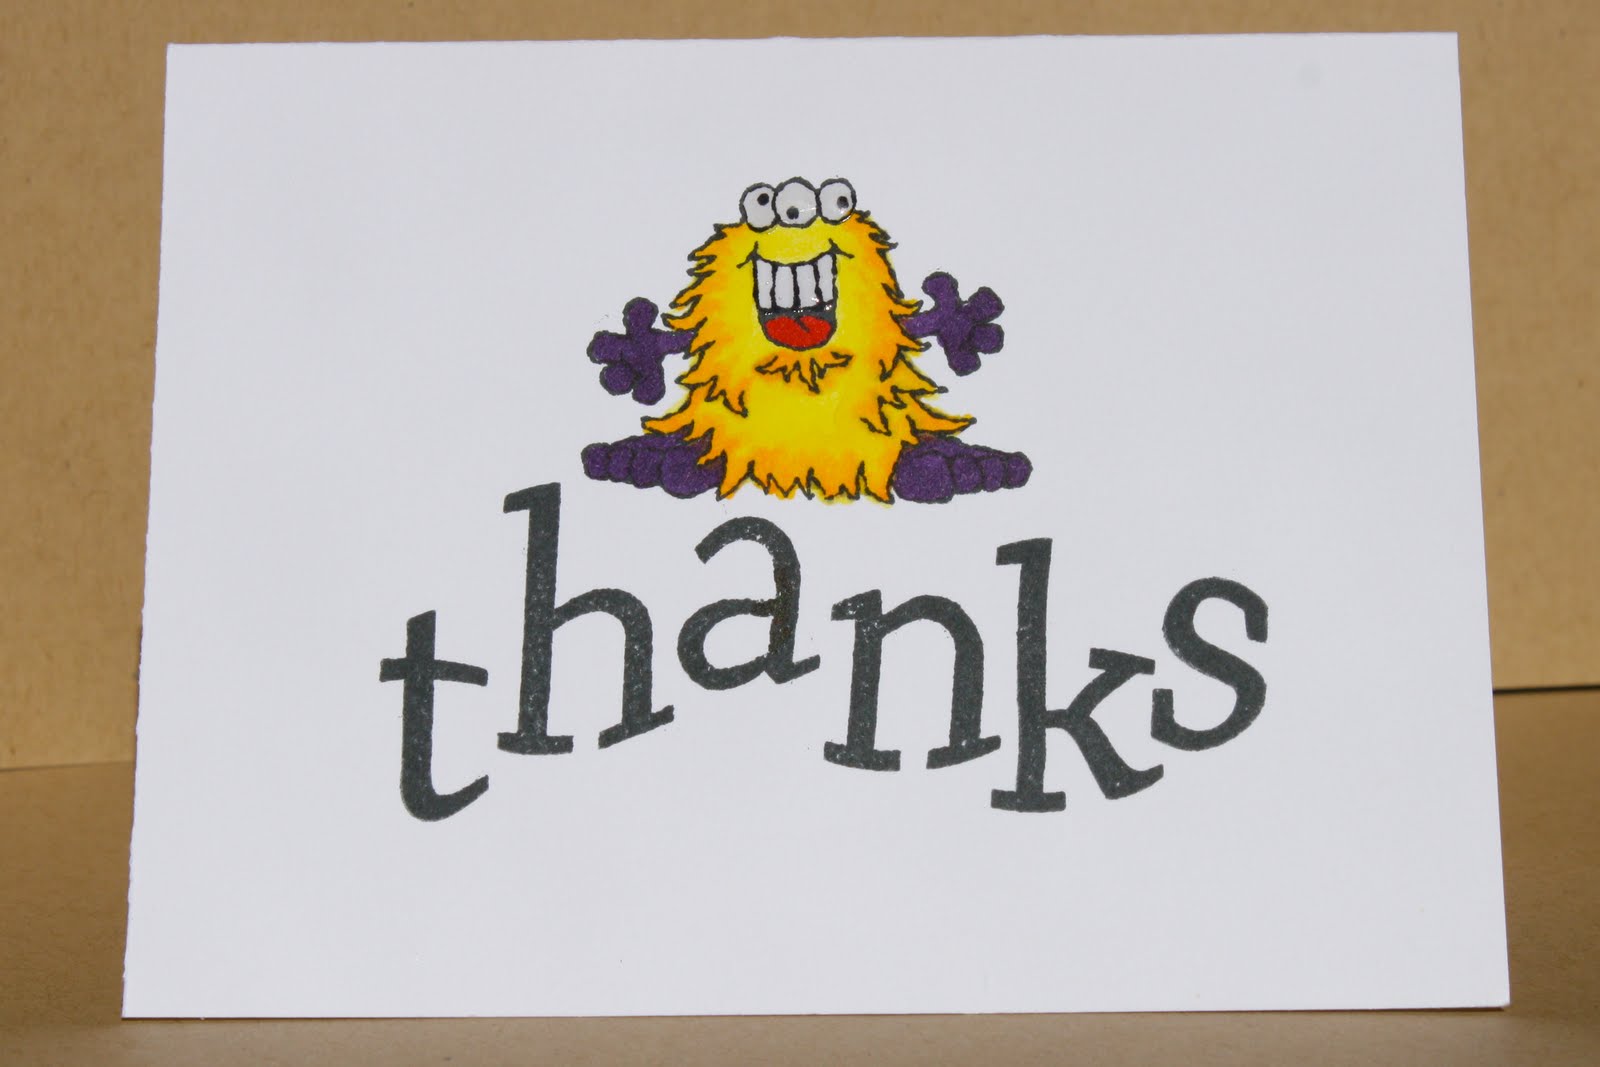
A Quick Thank You

Who doesn't need thank you cards? I keep them in my desk at school to make sure I send them as quickly as possible. Being a 2nd grade teacher, we often get little treats or gifts from our students and their families. I think it's a great way to show your gratitude by giving a handmade card.

This thank you card has a special element. The white paper flower was colored with Copic markers. You can use Copics to add color to more than just regular paper. I added the color to the middle of the flower and then blended it out toward the petals with the colorless blender pen. I love that I can customize embellishments with Copics to suit the colors in my project.


Recipe: All a•muse | studio products
Paper: Sugar, Papaya, Orange, Sky
Stamps: Sentiment from Friend to Friend, Polka Dots from Polka Dot Patterns
Embellishments: Flower from Meadow Mix, Clear Twinkle Sticker
You can find all of the supplies for this card here.

I'm super excited! I'm making my first consultant order today. As a new consultant, I'll be getting an extra 10% off my first order. I'm finding it so hard to reign myself in and not order absolutely everything right now. There are just so many stamp sets and fun things that I want to play with!

What are your most favorite crafty/stamping items to play with? What are your must haves? 

I'm excited for the weekend to come. We're heading out to a reindeer farm on Saturday with the boys and their Tae Kwon Do team. It should be a fun outside activity before the snow starts to fly. I also want to come up with some card sketches for my Christmas card and start planning what kind of cookies to make for the November 5th and 6th workshop at my house. And of course I want to make some cards! 

Have a wonderful Thursday!
Devon

Wednesday, October 19, 2011

Elegant

When I think a•muse, I mostly think cute! They have got some of the most fun and whimsical stamps ever. But their floral stamps and many of their sentiments are just so elegant. I love the combination of the sky blue and french roast paper on this card. And the little twinkles just bring it all together! I can see using this card for all different kinds of reasons... thank  you's, sympathy, missing you... many different possibilities!

I also got to try something I haven't done much of with stamping. I used a little finger tip sponge dauber to color the flower and the stem. I know this is something I'm going to try with many other stamps. I also read a great tip in the A Muse lounge. When you're stamping an image like this, place a clean, un-inked stamp on each side of the stem. It will help to stabilize the stamp and keep you from applying to much pressure resulting in the "smooshed" effect. Yep... smooshed. It's a technical stamper's word, dontcha' know?

I hope you like what I'm showing! If you see anything you just can't live without, stop by my open house on November 5th and 6th from 2:00 - 4:00 for some Christmas cards and cookies. Or, click on the a•muse | studio business card at the top of my blog to visit my online a•muse store!

Recipe: All a•muse | studio products
Paper: Sky, Sugar, French Roast
Ink: French Roast and Sky
Stamps: Beautiful Botanicals, Essential Sentiments
Embellishments: Clear twinkle stickers

Happy Stamping!
Devon

Tuesday, October 18, 2011

Coloring With Copics!!!

I am a super dork and I totally own it! Yes! I love to color! There... it's out. Maybe that's why I'm a 2nd grade teacher. As an adult, you feel kind of silly coloring... unless you have the world's greatest markers to color with. I found Copic markers (that's a long o, not a short o) a few years ago and have been busily collecting them and using them in my card making. When I am playing with them, I feel like a total artist. I'm not, but that's neither here, nor there...

Here is a card I made using the cute hedge hog that came in my starter kit:


Because Copics are an alcohol based ink, you can blend them, and shade with them, and make your stamping really pop! The really fun thing about Copics are that you can also use them to alter the colors of other embellishments. The next cards I post will show how I used Copics to alter a paper flower and some pretty pearls. Don't have the color you need? Doesn't matter! Pull out your Copics and make it exactly the way you want it.

One of the things I'm working on doing is setting up a monthly Copic Coloring Club. The way a monthly Copic club works is that we have 8-10 members of the club who commit to ordering 3-4 Copic markers each month. This will help you build your stash and begin using these awesome markers. 

We will do some sort of card or project that will help you learn how to use your markers. We will decide how many markers we need to buy based on how many members we have. We will want our monthly meeting total to reach $150 so that month's hostess can earn $25 in free product from A Muse Studio.

If you are local and interested, let me know and I'll make sure you get on the schedule and come to the meetings at my house. If you are interested, but not local, you can still be part of the club. You will let me know which Copics you want and will be signed up to be one of the hostesses via email. 

Recipe: All a•muse | studio supplies
Paper: Sugar
Stamps: Woodland Friends, Friends Fur-Ever, and Ovalicious
Ribbon: Sky organdy polka dots
Ink: Grass and Tuxedo Black
You can find all of the supplies for this card here.

Have a wonderful day!
Devon

Monday, October 17, 2011

Gift Card Holder

I give a lot of gift cards! Teachers love to get them. My friends who are readers usually get Barnes and Noble cards, or Amazon cards for their Kindles. My kids always think they've been given a "credit card" and can't wait to go shopping and pick out exactly what they want.  I just think gift cards are great!

But what can make a gift card more personal? How about making the gift card holder? I LOVE this quick and easy gift card holder that I made with a few stamps, a little bit of paper, and some cute ribbon! Copic markers make the coffee cup pop with a little dimension too!


What I really love about this gift card holder is that after you untie the ribbon, you use the ribbon to pull out the gift card that is inside. It just helps it slide right out! Wouldn't this one be just perfect with a Starbucks card inside?

As soon as I receive my next A Muse order, I will be making a bunch of these with a Christmas theme! They would make a fun workshop, so let me know if you want to get some of your friends together to make a few!

Recipe: All supplies from A Muse Studio
Cardstock: French Roast, Sugar, Sky
Ink: French Roast
Stamps: The Perfect Blend set
Ribbon: Sky organdy polka dots

Have a wonderful day!
Devon

Sunday, October 16, 2011

What Got Me Going?

I have always loved A Muse stamps. I wasn't crazy about stamps mounted on wood blocks because of a lack of storage, but I simply could not resist the cute images and the adorable cards I could make with their awesome rubber! One day, I could no longer buy A Muse in a brick and mortar store here in Alaska. They had changed their business model and switched to the home party concept.

I didn't know if anyone was selling A Muse in Alaska until one day I received a post card in the mail from a gal named Donna. She was the only A Muse consultant in Alaska and she would have to be my source for the crafty goodness I love so much! A few weeks ago, I attended an A-Muse-A-Palooza workshop at Donna's house and we made a few Christmas tags and an adorable Halloween treat holder and I was instantly hooked!


I looked at the catalogs, ooh'd and ahh'd over all her sample cards and decided I wasn't going to head into Anchorage every time I wanted to play with the A Muse products I love. You know what they say, if you can't beat them... JOIN them! And I did!

My super fab deluxe starter kit has finally arrived and I have been very busy organizing everything in my studio/office and I've begun to make sample cards with the supplies from the box of goodies I received. I am so happy with the new cling mounted stamps! All of the wonderfulness of the red rubber I love, combined with the ease of storage and the use of acrylic blocks that makes sense to me. 

Over the next few days I'll be sharing all of the samples I've made from the starter kit. Thankfully the amazing support you get from A Muse Studio includes ideas and templates for cards to make. (Report cards are due for my 2nd graders this week and that can suck the creativity right out of a gal!) But I have been able to take several work breaks and sit at my table cutting up pretty paper and getting inky!

I'm also planning my first workshop! On Saturday, November 5th and Sunday, November 6th from 2:00 to 4:00, swing by our place if you're in the area for Christmas Cards & Cookies! We'll do a few fun cards and some Christmas tags and munch a few of my favorite Christmas cookies. Email me at paperismypassion@gmail.com for directions!

And, because I can't wait to share at least one of the things I made on my own this weekend, here is one of the cards I made with the starter kit. It's the sweetest little 3x3 card and I'm going to make several of them. They would be so fun to slip into the boys backpacks or lunches, or to put in one of my co-workers mailboxes to let them know I'm thinking of them. We are a bucket filling school and try to do little things as often as possible to spread the bucket filling around our community. (If you haven't heard about how to fill somone's bucket, I really recommend you check it out here. Makes life quite nice!)


Have a happy week! Remember to do something to fill someone's bucket, and your own in the process!

Devon

A Muse Studio October/November Spotlight

There are some really fun projects to make using the A|S October/November spotlight products. 
See all the products and project ideas here!
From now until November 14, save 10% on the stamp sets used to make these projects.


I'm excited to get my hands on some of these stamp sets and host some workshops! Let me know if you are interested in hosting a workshop and earning some free stamps for yourself.


Monday, April 19, 2010

More cards!

Several weeks ago, I attended a quilt retreat with some friends of mine. No... I don't sew! But the owner of the store that organizes the retreat is gracious enough to let me tag along with my quilting friends. I was so jealous watching them head off together for four whole days that darling Sylvia took pity on me!

This year I took some inspiration from one of Kristina Werners Make a Card Monday videos and whipped up a few of these little cards. They are my hommage to the sewing ladies I spent the weekend with. Little quilt squares punched out of June Bug from Basic Grey! Yum!


Cardstock: Papertrey Ink - Kraft
Pattern Paper: June Bug by Basic Grey
Embellishments: Random Button (though I think they came out of a pack from Basic Grey), DMC floss, and Uniball Signo White Gel Pen

Sunday, April 18, 2010

Playing with my Copic markers!

So, my youngest son turned 6 recently and we had a great birthday party. Now... I'm trying to "raise these young men up right" and in my world that includes teaching them to write thank you notes. I took out some of my unused CTMH stamps and mass produced a simple one layer card, and then had a BLAST spending the evening coloring! Each card had it's own color scheme and did I have fun! Don't look too closely at the stamping job, but let me know what you think of my coloring!


All Stamps: Close to My Heart
Cardstock: White Daisy CTMH
Medium: Copic Markers - lots of colors that I didn't make note of! Liquid Glass from CTMH

The best thing was that my little guy loved the cards so much that he didn't fight me to write the thank you notes and he was so proud to pass them out to his friends! Thanks for looking and leave a comment so I know you stopped by!

Saturday, April 17, 2010

Hommage to Julie HRR!

I loves me some Amuse rubbah and the designs of Her Royal Rubberness Julie Ebersole! The ladies in the Amuse Lounge posted a challenge in March to let Julie be your inspiration. Well, with Teacher Appreciation Day coming up, I decided to go with a thank you card I could give to the boys' teachers. Hope you enjoy!


Paper and Cardstock: Amuse
Stamps: Amuse
Ribbon: Amuse
Punch: EK Success
Markers: Copic
Clip: CTMH

Love ya' Julie! You're such an awesome inspiration! (and yes... I know it's April and I'm a bit late for the challenge... but that's just me! ;o) )

Ahhhh... to have time to be crafty!

I know... most of my posts... my incredibly rare posts... begin like this! But I so rarely have time to work at my table. It doesn't help that the table is buried under a mountain of stuff and needs to be cleaned up and organized so that I can actually get in there and do something creative once in a while.

Anywho... I do keep up with what's happening in the blog world, especially Kristina Werner's blog and her Make a Card Monday and Finally Friday videos. I love to watch them when they pop up in my inbox!

Here are two cards I made that were inspired by two of the Finally Friday videos!


Paper: White Daisy cardstock from CTMH, Pattern Paper is Cherry Hill by October Afternoon
Tools: Fiskars Scallop border punch, Making Memories Corner Chomper, Cuttle Bug Swiss Dots embossing folder, Uniball Signo White Gel Pen


Cardstock: Papertrey Ink Kraft
Pattern Paper: Cherry Hill by October Afternoon
Stamp: Amuse sentiment 
Embellishments: Fabric Flower - Little Yellow Bicycle, Button from my stash and DMC embroidery floss

Boy... I just love that Cherry Hill paper! October Afternoon is becoming one of my favorite companies. Their patterns always catch my eye... kind of like Cosmo Cricket! More to come... :o) Leave me a comment to let me know you were here!

Devon

Sunday, February 14, 2010

Hellooooooo!!!! I'm baaaaaaccckkkk!!!

Wow! Happy Valentine's Day everyone... or to all 2 people who might actually see this! Ha! Life has been unbearably nuts and busy and so NOT crafty for me for months now. I don't know where all my time goes, or why I never get to my table anymore. I did manage to knock out 60 handmade Christmas cards in December and actually send them out! I'll post a picture at the bottom of this post.

Today I woke up and realized it was Valentine's Day! (oops!) and I had no cards for the three men in my life. So I decided it was time to reacquaint myself with a trimmer, paper, and adhesive. I had an idea in my head from one of Kristina Werner's Make A Card Monday videos from last year and decided to get at it. Since I haven't had much mojo of my own, thank goodness for Kristina's videos. Besides the fact that I just LOVE her style, I bought the punch I used because of her and I think it's about time it punched out some pretty paper!

So... here are the Valentine's Day cards I made today... Yes... some people will be receiving this a tad bit late, but hey... I'm a busy working mommy! What can ya' do, right? :)


These cards were so much fun to make, and SOOOOOOOO easy! Make a standard card with craft cardstock from Papertrey Ink, use the scallop border punch from Fiskars, and punch patterned paper with the EK Success punch Heart to Heart. (I think this punch is only sold through Stampin' Up! because I can't find it at Two Peas.) A little detail with my Uniball Signo white ink pen and voila! I made 10 in all in about an hour. I just love that We R Memory Keepers Heart Attack pattern paper. I had so many options with the hearts, since the pattern paper is double sided. Yum! Nothing better than beautiful double sided paper!

Anyway.... A huge thanks, as always, to Kritina Werner! I love, love, LOVE her blog and videos. Never miss a one!

Oh yeah... here's the card I made for Christmas. Had to be pretty simple because I was making a bunch and it was a busy, busy, busy time of the year!


This was a fun little card to make. I think that's BoBunny paper and then I used stamps from Papertrey Ink's Holiday Button Bits collection. So much fun and so creative! Of course I just love to use buttons on everything, so these Button Bits collections incorporate all those fun buttons into stamping as well! Whoopee!!!

Quick story about the picture... it was the weekend after Thanksgiving and my mom was visiting. We decided to make a quick trip up to North Pole, Alaska to see the "real" Santa Claus. I figured this might be the last year that the boys still believe. What a road trip! Snowed like crazy on our way up and on our way home. I hope that one day they'll remember what their parents went through to make sure they have great experiences! He really was a fantastic Santa and there were reindeer and everything outside.

Since this is my first post since almost November, I'm going to throw a question out there into the blogosphere... What do you do when you just feel you've lost your mojo? How do you get it back? I do know that one of my problems in clutter. When my table is a total mess, I don't feel like I can get started on anything. But if I don't want to clean up the table, then I get nothing accomplished! Anyway... what do you do to kick start your mojo??? Let me know!

Happy Valentine's Day blog peeps!
Related Posts Plugin for WordPress, Blogger...